DIY Sock Drawer Organizer: Simple Grid Dividers
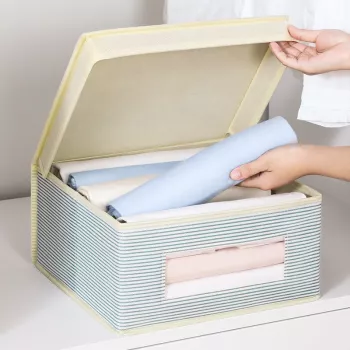
How to make a sock drawer organizer?
A sock drawer organizer can be as simple as a set of custom-sized dividers that keep pairs separated and easy to grab. The easiest DIY approach uses sturdy cardboard (or foam board), basic measuring, and a few clean cuts to create a grid that fits your drawer exactly—no wasted space and no sliding piles.
What you’ll need
Grab a ruler or measuring tape, a pencil, scissors or a craft knife, and a few pieces of thick cardboard, foam board, or corrugated plastic. Optional upgrades include fabric, contact paper, hot glue or double-sided tape, and labels.
Measure the drawer and plan the grid
Empty the drawer and measure the interior width, depth, and height. Decide how many compartments you want based on how you store socks (rolled pairs, folded pairs, or single socks). As a quick guide, aim for compartments that fit one pair snugly—tight enough to prevent drifting, but not so tight that you have to wrestle socks in and out.
Cut the base strips and notch them
Cut long strips the full depth of the drawer and additional strips the full width of the drawer. Keep the strip height slightly lower than the drawer height so the organizer slides in smoothly. Mark evenly spaced lines where the strips will intersect, then cut notches halfway down on one set and halfway up on the other set so they slot together into a grid.
Assemble, reinforce, and finish
Slot the notched pieces together and test-fit inside the drawer. If it shifts, add a small piece of double-sided tape under the corners or a tiny dab of hot glue at key intersections. For a cleaner look and longer life, wrap strips in fabric or contact paper before assembling, then add simple labels (work, athletic, dress) to keep sorting automatic.
For step-by-step photos, sizing tips, and material alternatives, follow the full guide here: https://rareoffersarena.shop/how-to-make-a-sock-drawer-organizer/.
FAQ
What can I use instead of cardboard for a sock drawer organizer?
Foam board, corrugated plastic, thin plywood, or even sturdy plastic placemats work well. Choose a material that won’t bend under pressure and is easy to wipe clean if the drawer gets dusty.











Leave a comment